iKnife Collector
The online community of knife collectors, A Knife Family Forged in Steel
Making wooden lanyard beads
Hey all,
I'm new here so thought I better contribute something :) I like to fool around with making wooden scales for fixed blades and other embellishments, recently I made a blog post about making wooden lanyard beads and thought it might be of interest here as well.
Thanks everyone for the warm welcome!
I have been asked about my lanyard beads more then once and figured it was time to do a how to on them. I'm sure there are better ways but this is how I've learned how to do them with the things I have to hand. It's a fairly long way to go for a small item but I find the small things often make a bug difference, also it's a good use for leftover wood cut offs :)
Items I use:
-Wood block at least an inch each way
-Vice
-Drill
-Cheap screwdriver with replaceable heads
-Cheap set of screw removers
-Coping saw *(kind optional)
-1 zip tie (to hold the drill in the "on" position.)
-Sanding disc pad for drill
-Sanding discs at 60 grit
-Sand paper up to x grit (I go to from 100 to 220 to 320 to 400 to 600)
-Linseed oil
1.Getting the hole
So first you take your block of wood, in this case w3alunt6 form my scrap tub
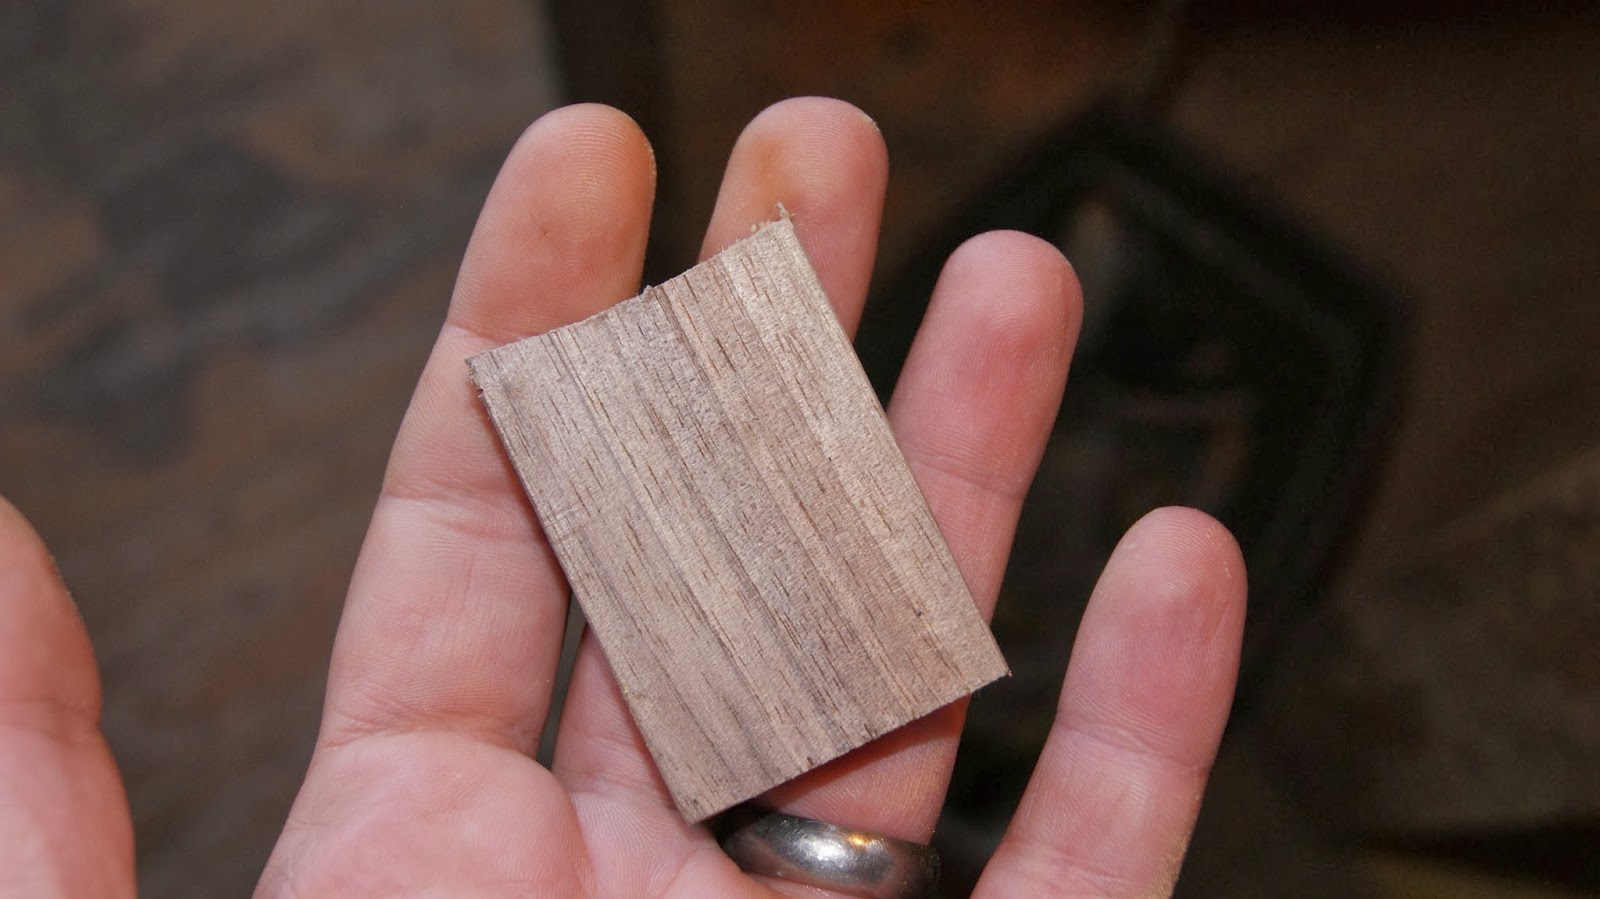 |
| Walnut block |
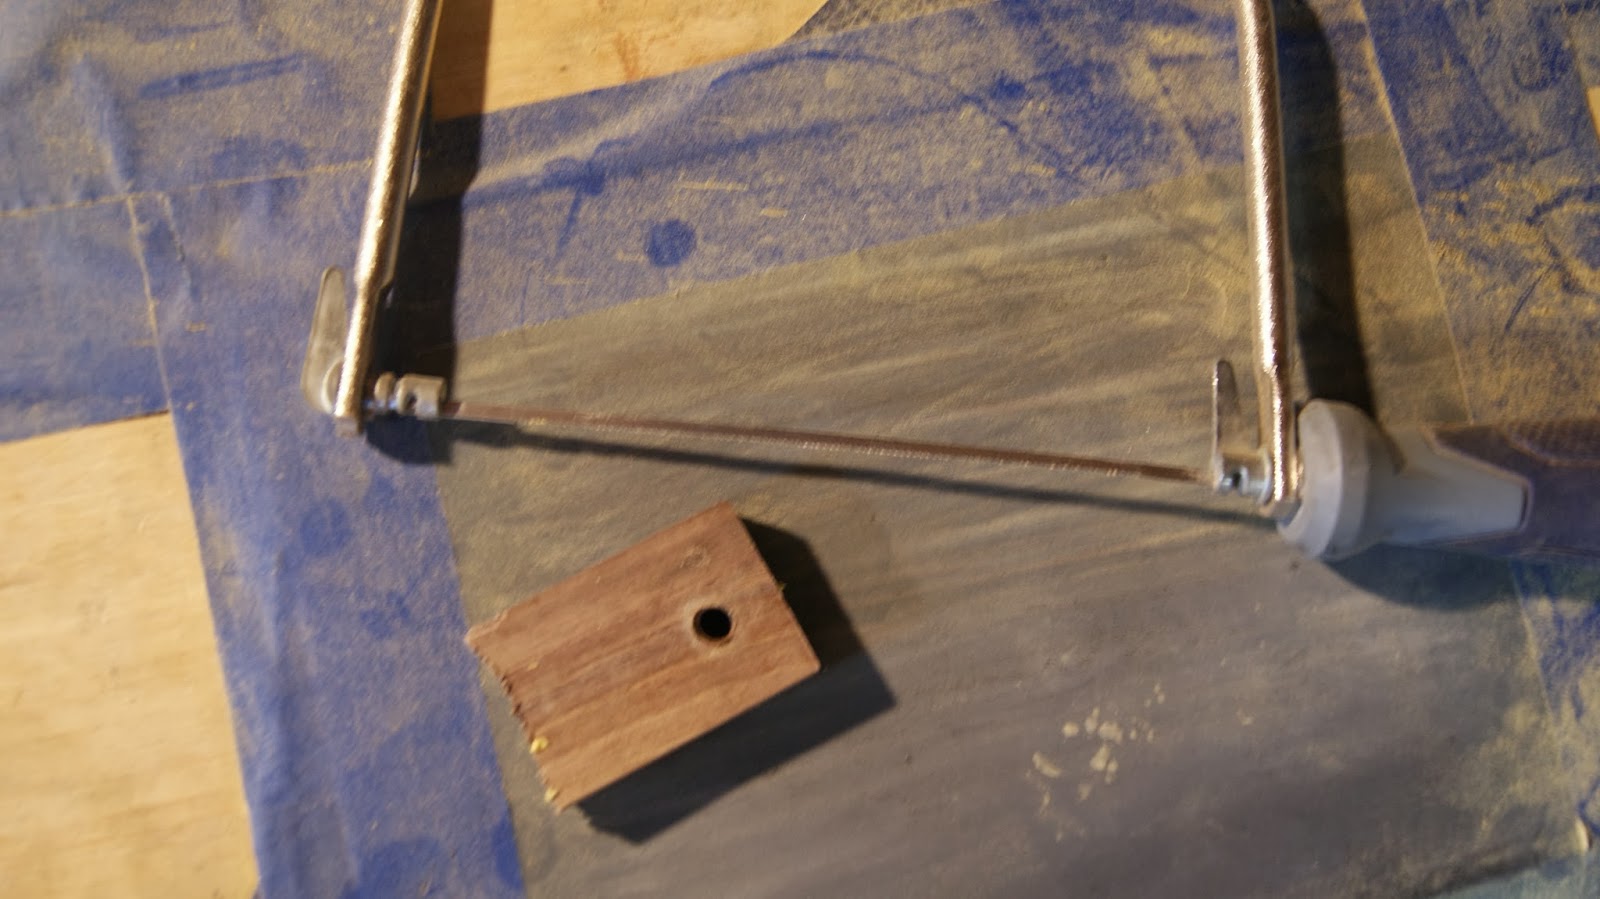
Then you drill a hole in it, I use a 1/4" bit and often work a second circle in around the end very carefully with the drill bit while ti rotates to make threading lanyards through ti easier. i find this size just, only just, big enough to fit regular leather lace lanyards through.
 |
| drilling 1/4" hole |
I then use a coping saw to cut out around the hole, i try to make it as round as possible but it's more important not to cut to close to the hole, making it to thin is worse because, as always, you can't add any wood back on
 |
||
| Coping saw |
2. Rough shape
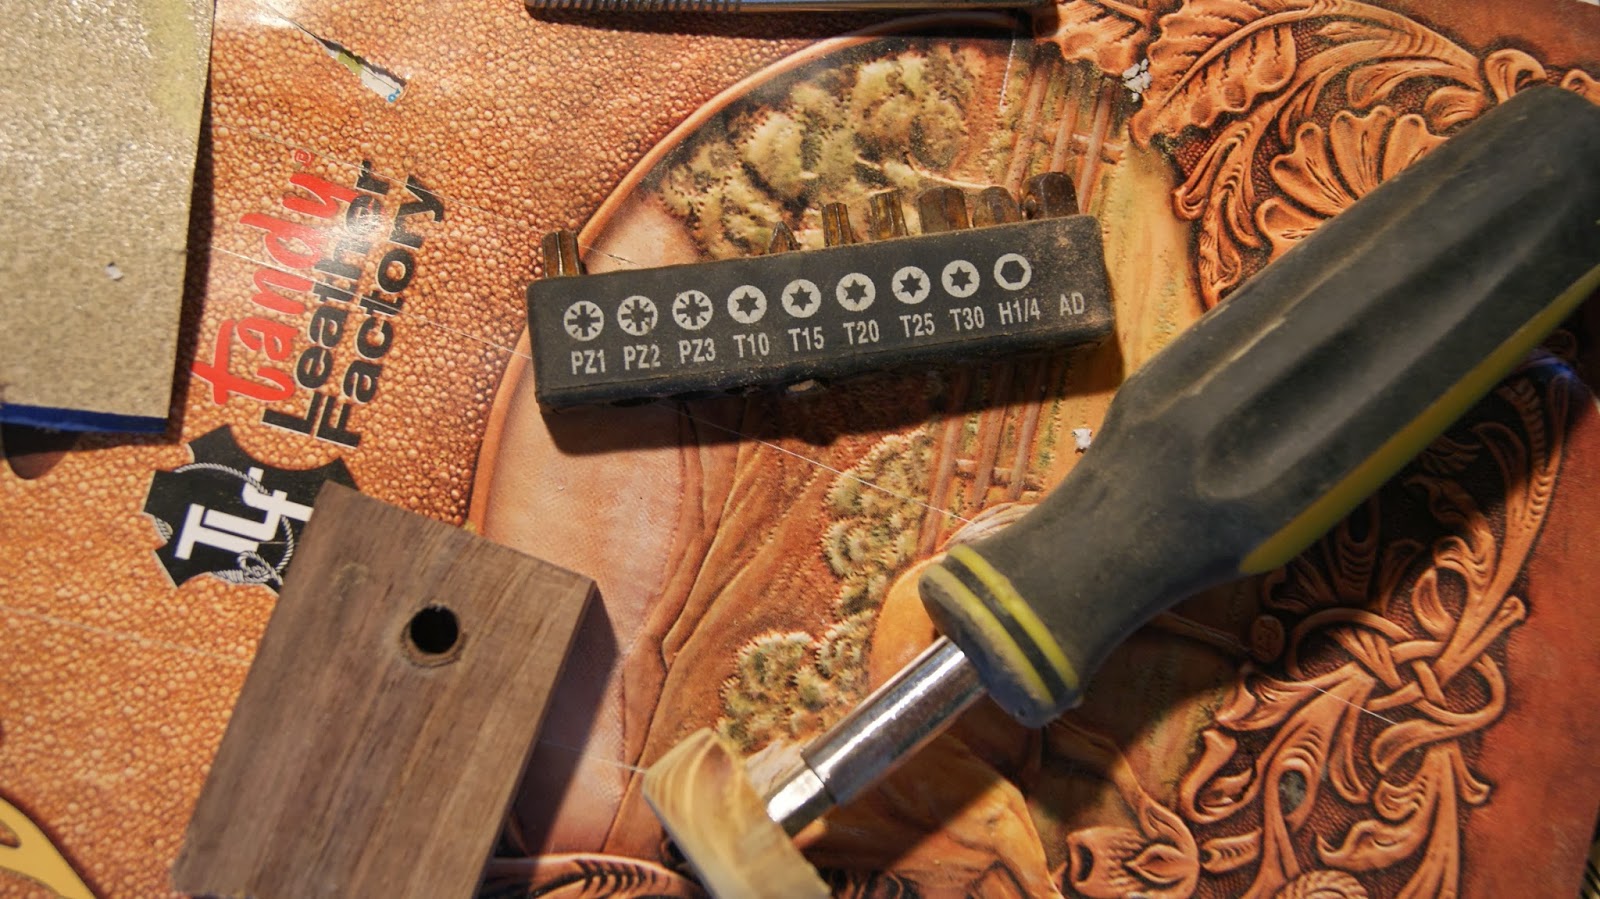
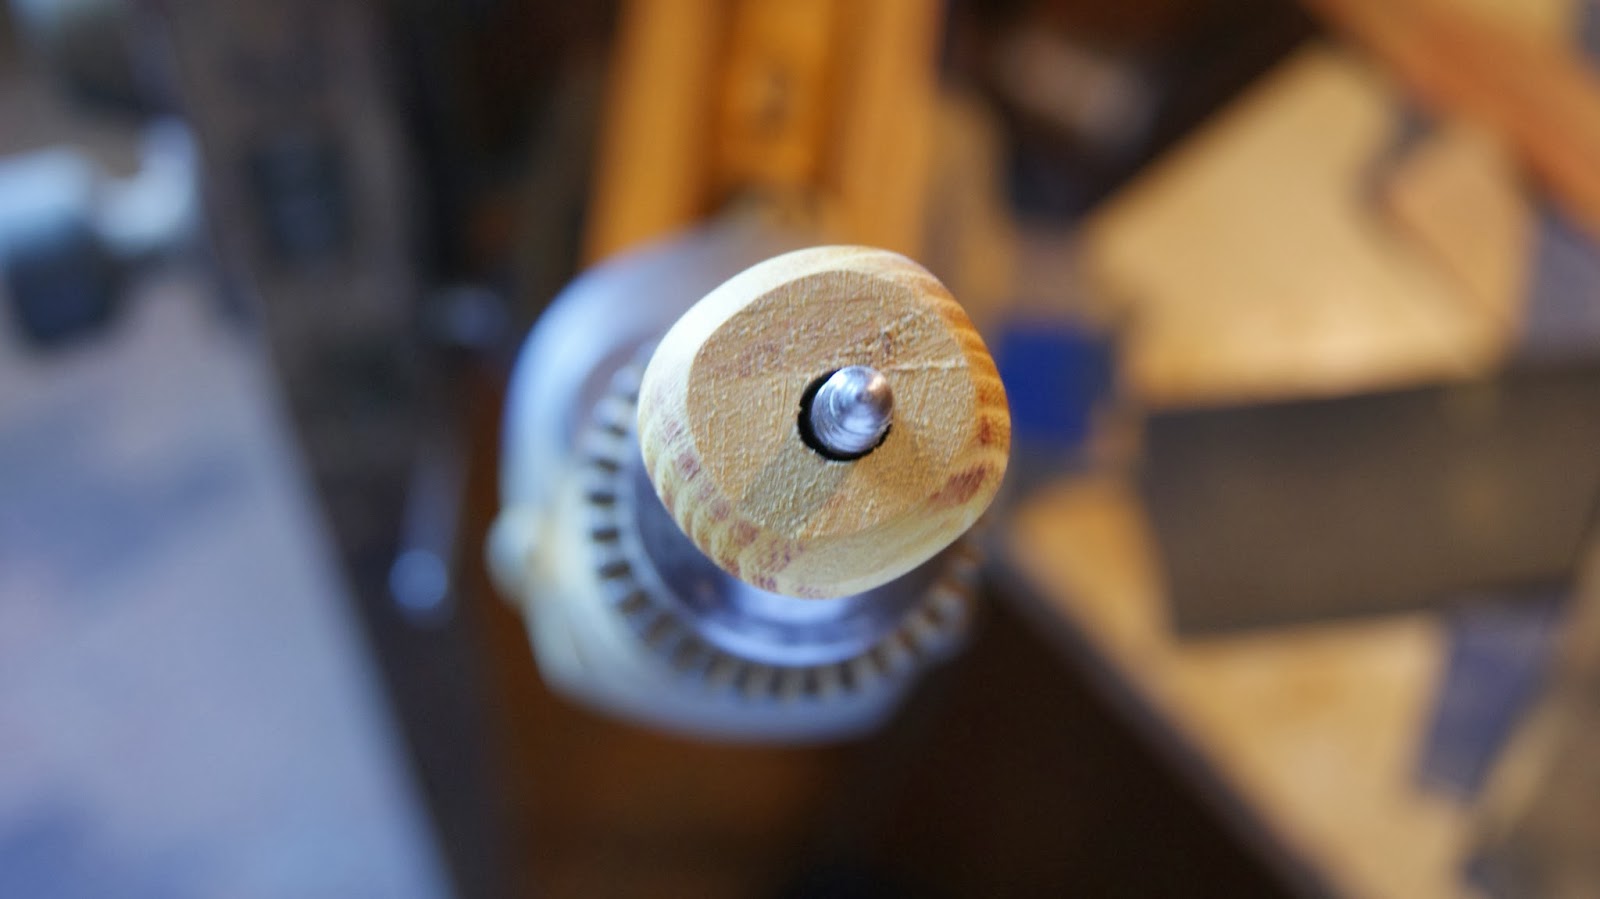
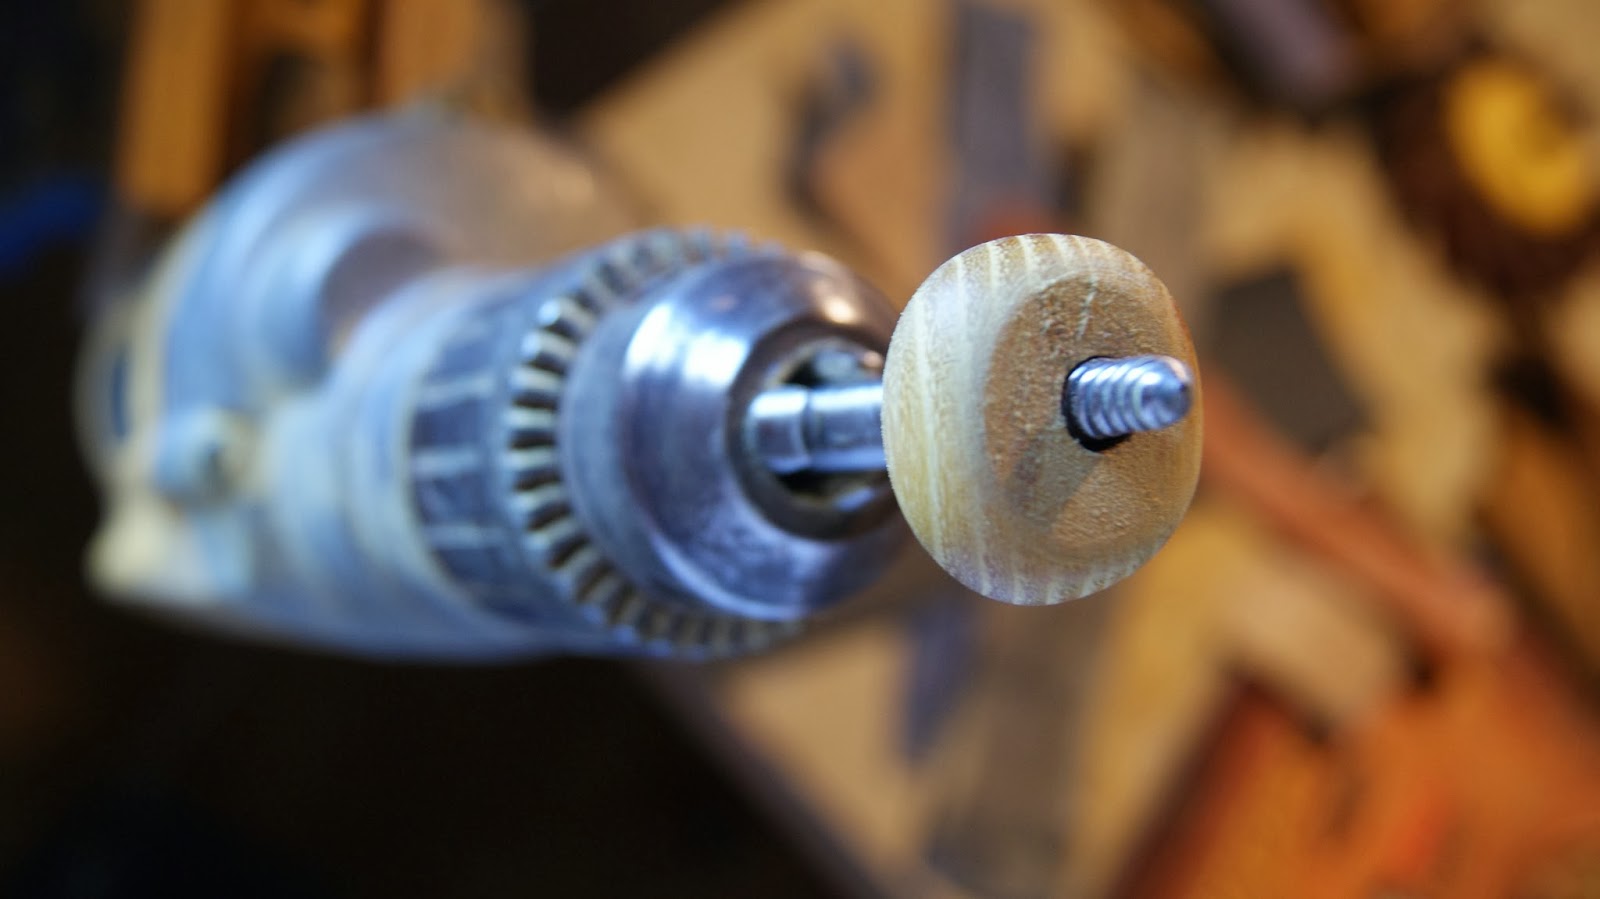
Then I grab a screw driver with replaceable head. you can use a rod, or any other tool you can work into the hole that allows you to get a good grip. I had an extra set of screwdriver bits for these type of interchangeable handle/screwdriver sets and decided to modify the end of a few to fit different hole sizes. I was using a large metal dowel rod but ti hurt to keep a hold of it for too long and turn on the sanding disc so i came up with this.
I then clamp my drill in the vice and my sanding disc pad in the drill and put a 60 grit sanding disc in place. I've found 60 to offer the best speed to quality ratio for this, much lower and it cuts to fast to work with and high it takes to long.
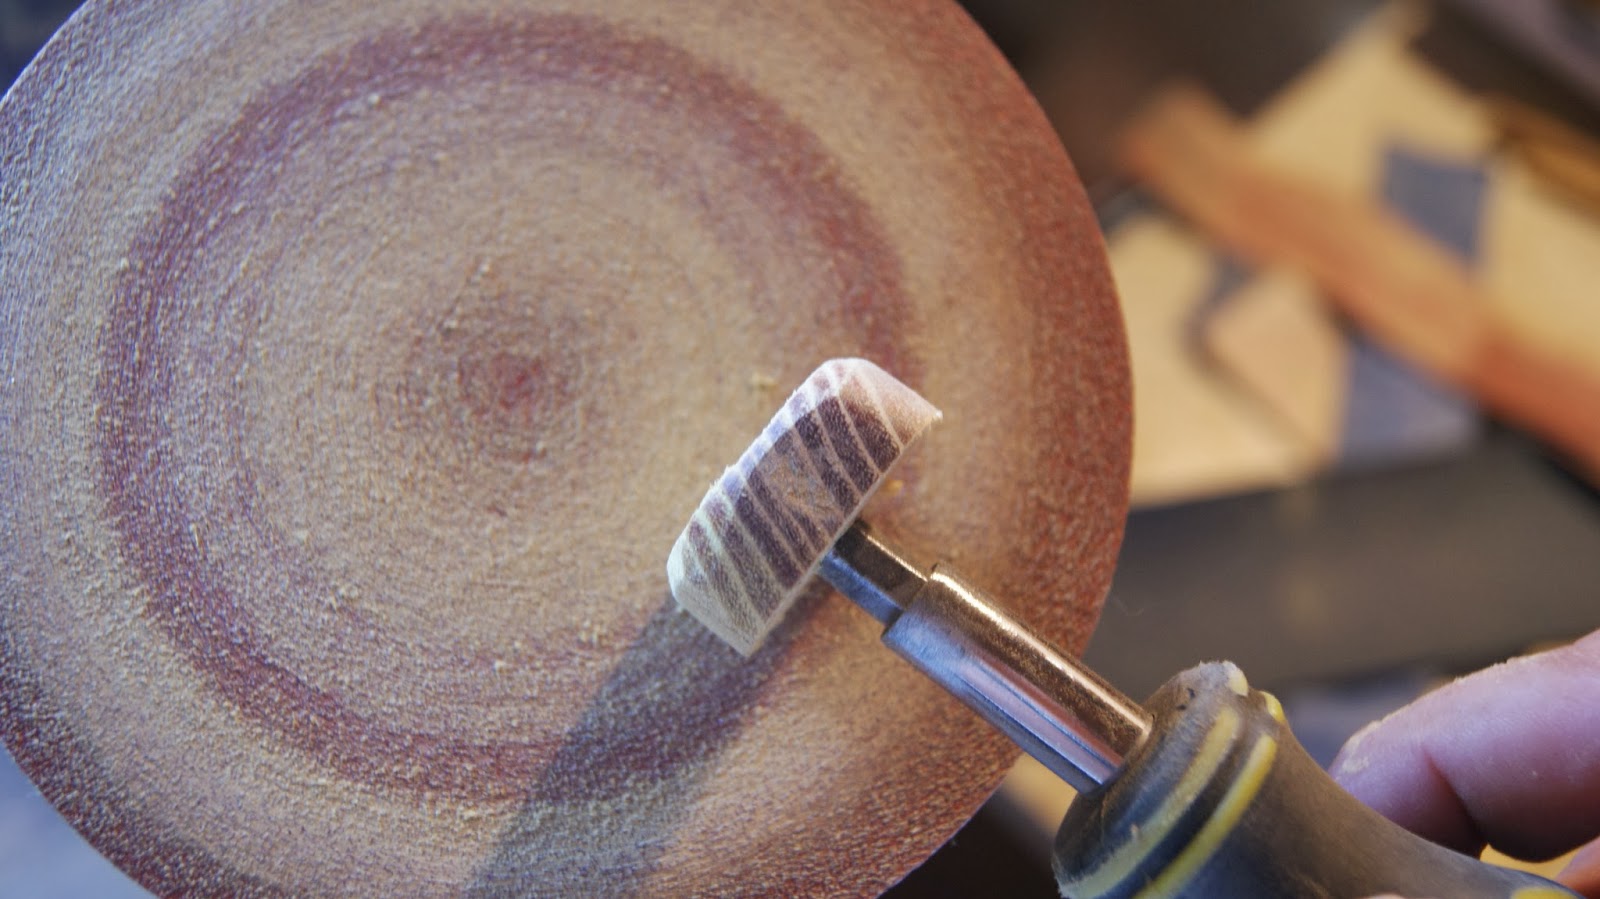 |
| This disc is 100 grit but it was just for demonstration, 60 is better |
At this point I'm not trying to get the bead very smooth, just the basic shape, I normally aim for just a round shape but have tried more angled or "fancy" styles. The main thing to keep in mind is the edges will look rough and lumpy when finished, just get the thing in rough shape.
I use something like this for a grip, only with both hands because I'm not using the camera normally, holding the screw driver as you normally would I apply some pressure to the end by pressing down with the left hand on the back of the shaft. Seems unnecessary to mention it but I've fooled around with hole to do this bit a bit and find this most comfortable. (P.s I also recommended taking off the wedding ring, it will get scarred if you don't, watch and all else to, I forgot for this quick demonstration, yikes!)
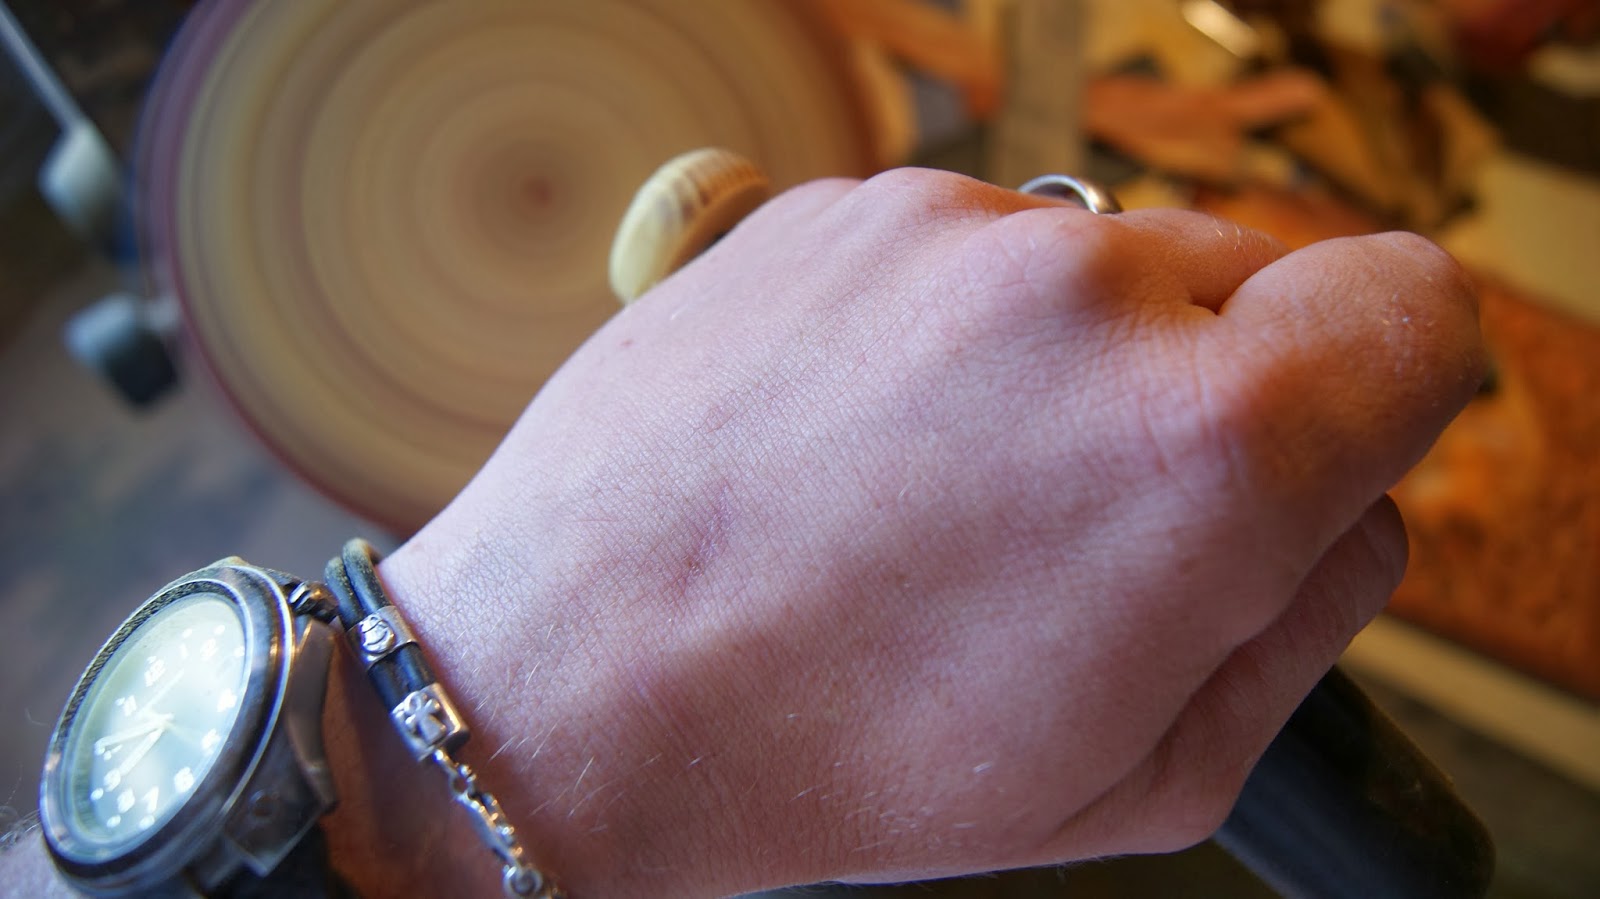 |
| Take off your wedding ring! |
Well it looks about like this I move on to the next stage.
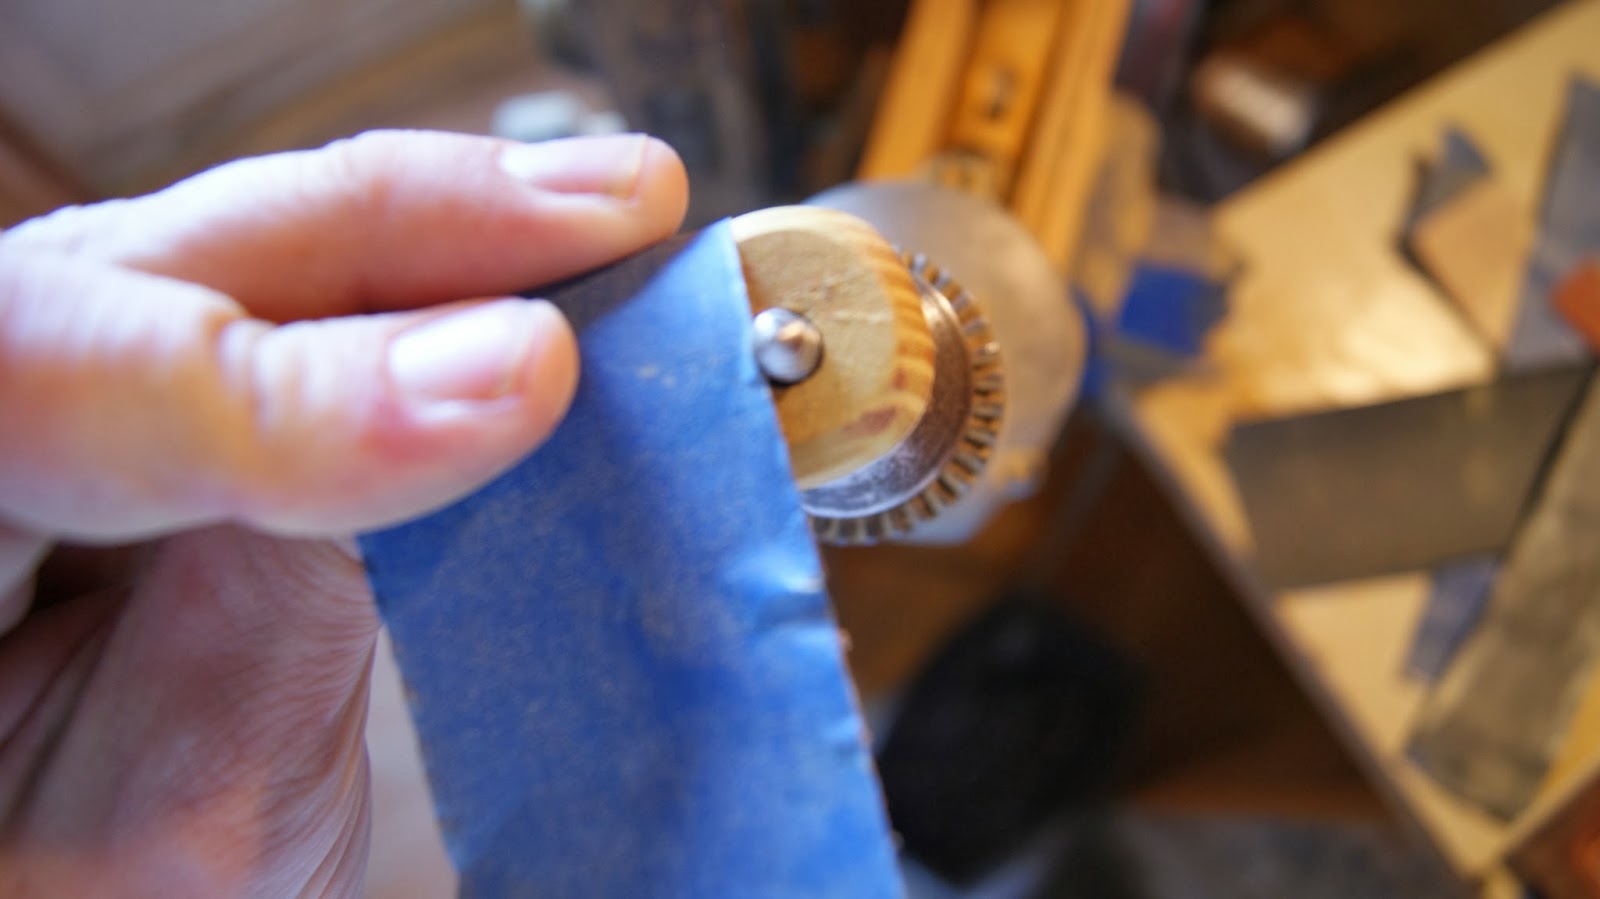
3. Finish shaping and sanding
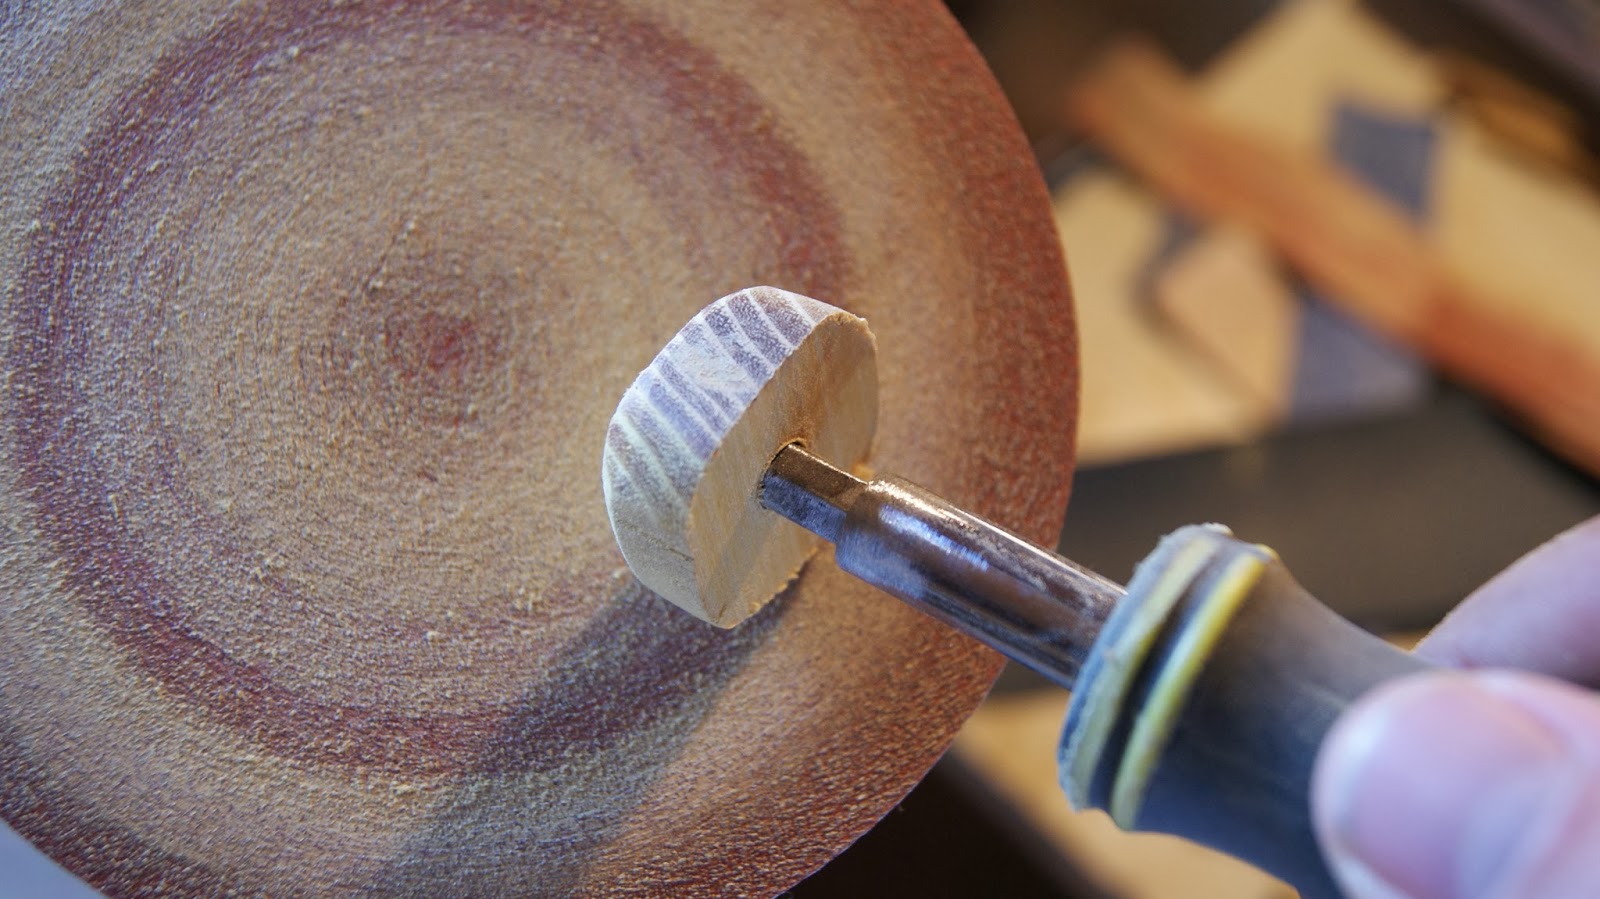
For this part I use a (appropriate sized, in this case 1/4") cheap set of screw removers (available on ebay or any auto parts/DIY store for less the $5). never had any luck getting them to pull a board out screw but they do let em counter screw the bead on to it so it doesn't spin off while the drill turns and I apply pressure with some sanding paper strips.
I have these sanding strips cut off for sanding knife handles up to 600 grit, I save the ones that start to lose there bit or are just left over after a handle and use them for this. They are just sanding paper that have painters tape o the back, then i cut them to a strip, makes shoeshine sanding easier and the sandpaper last longer.
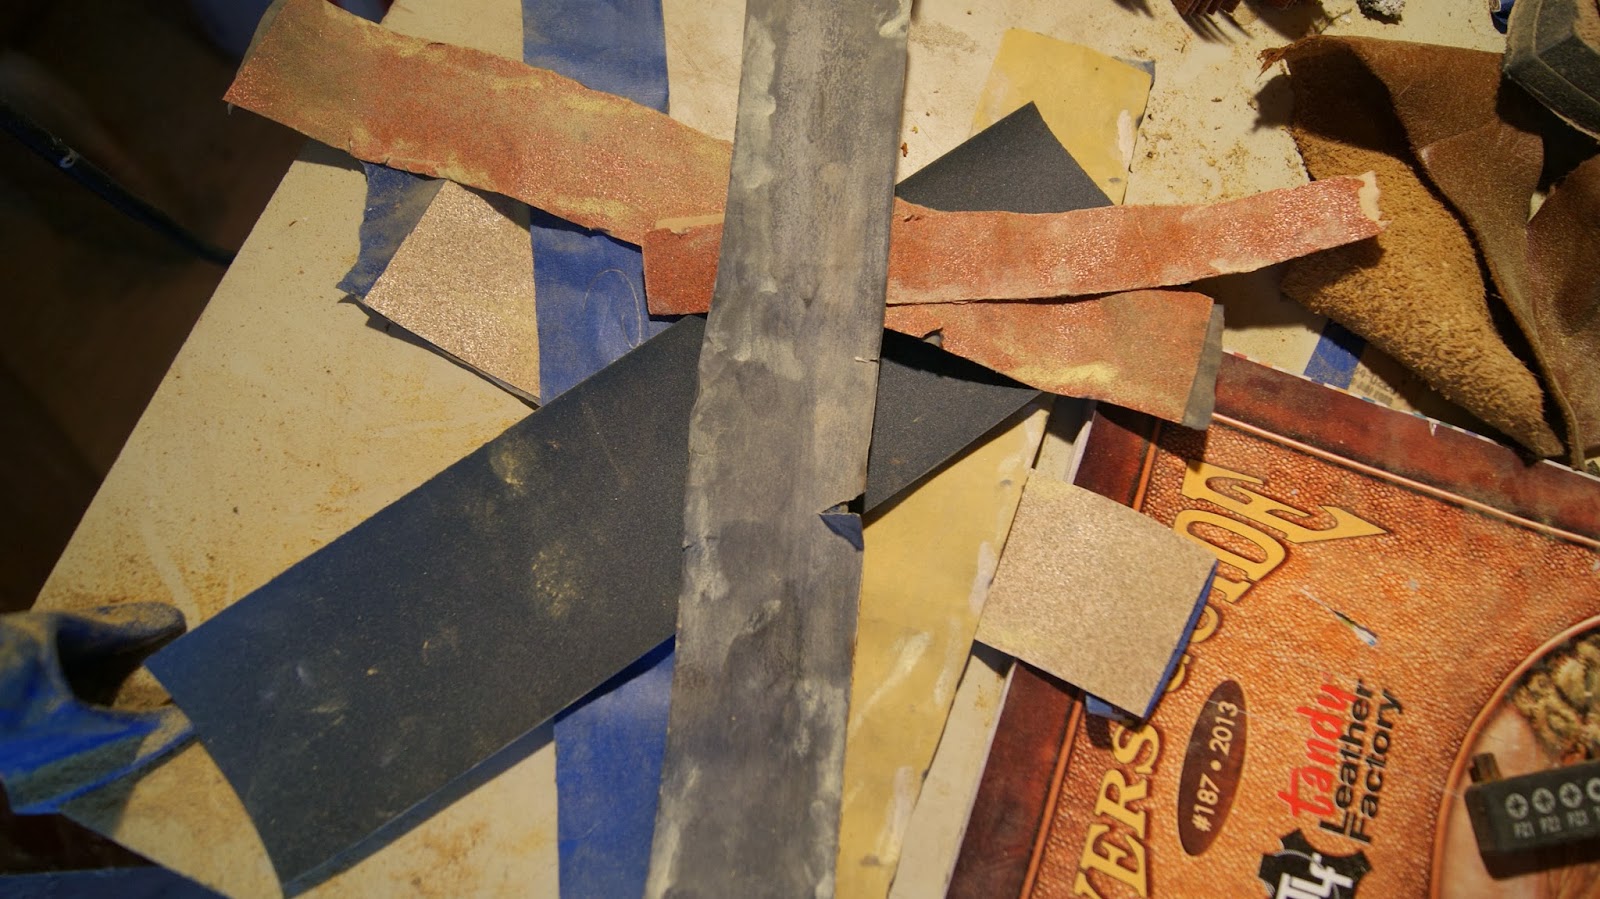
I start out at 100 and work through the grits up to 600. BUT the most important part is the 100 grit stage this is where you spend the time, getting the bead smooth and to shape how you like.. (You can also hold a file up to the bead at this stage if you want to get a little more detailed in your design on the bead) It's a very simple, partial lathe, if you like.
Again i use both hands, but this time I'm holding a camera instead. Make sure you don't forget the other side to, you can stop the drill and turn it around or just reposition the sandpaper next to the shaft, I've started doing that more often as I've gotten confident with it.
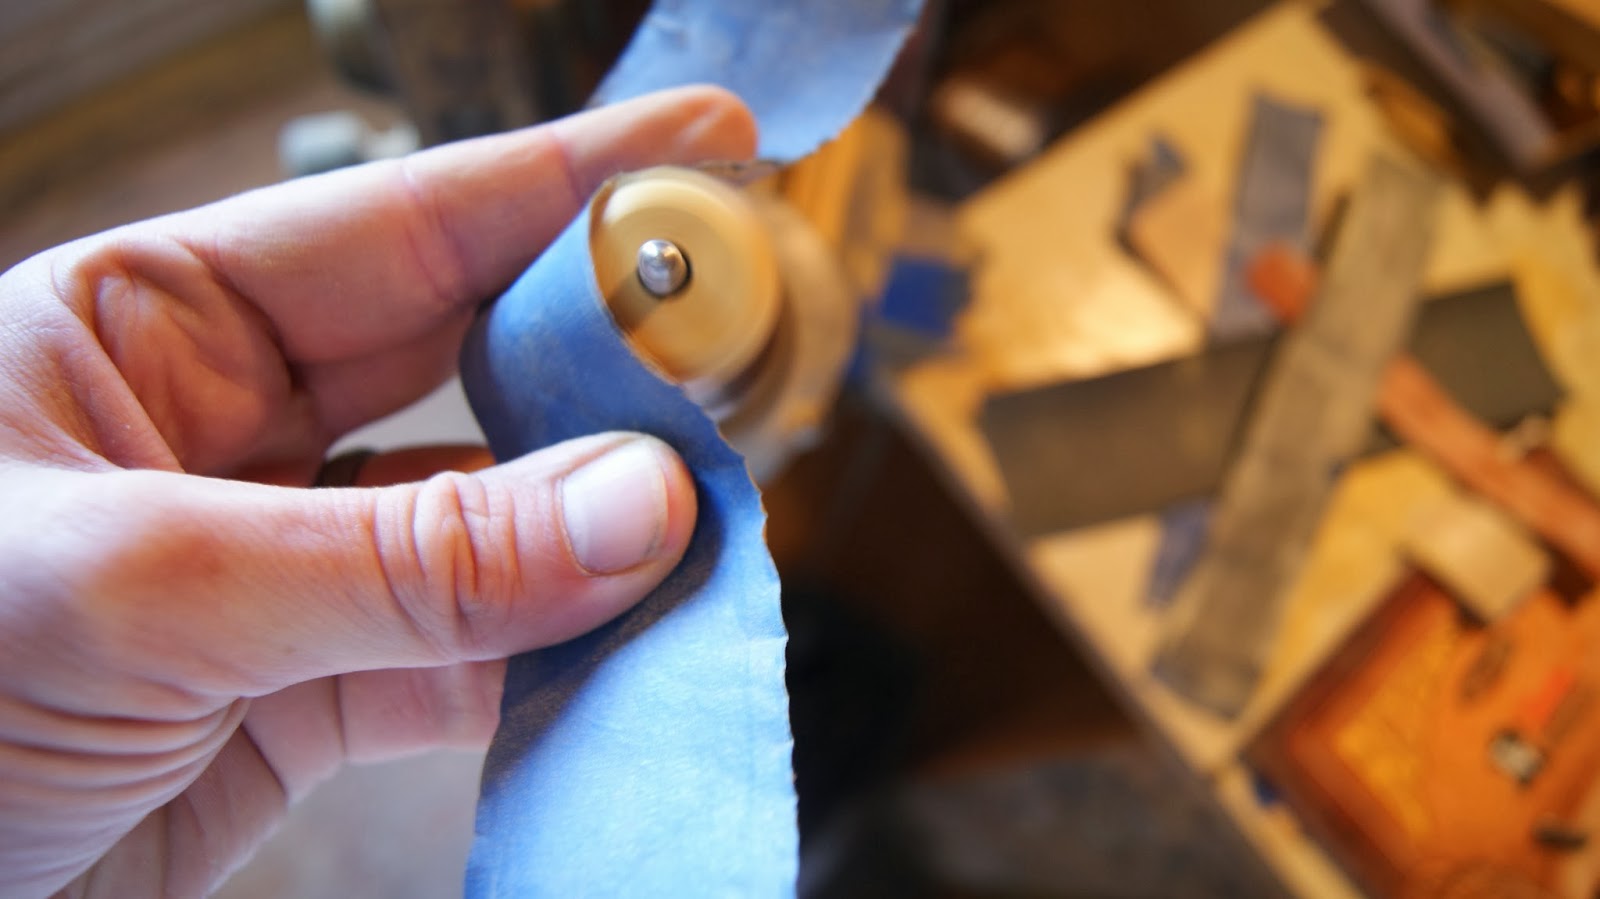 |
| don't do this, drills likely top take my fingers off in a minute, use both hands! |
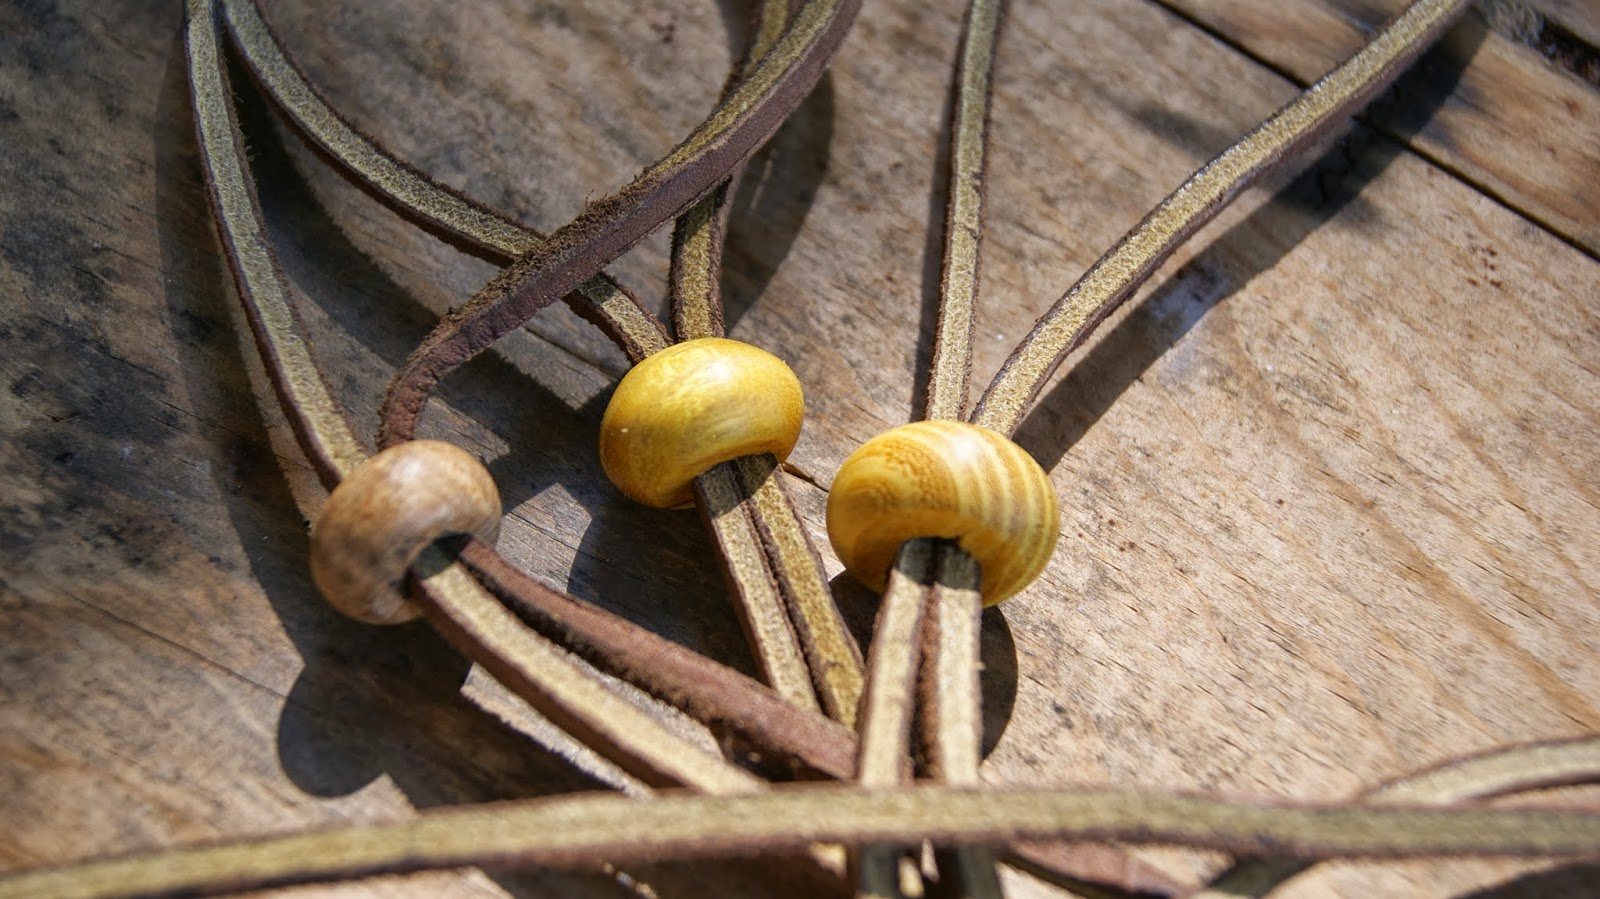
 |
| Osage is pretty |
 |
| this can is not pretty, but ti does last |
Anyway, after I've got it shaped how I like it I do the same with the other grits from 100 - 220 - 320 - 400 - 600, then I give it a coat of linseed oil.it's worth investing in, I bought this can about 4 years ago, have made a lot of knife handles and beads and such since and still haven't ht the half way mark (I use a lot of walnut to and it's a thirsty wood!). It's available from walmart or about anywhere else that sells sand paper.
 Without buying more tools or equipment it's the best one I can find. It's may not the best method but it seems to work well enough and I enjoy it. hope you all enjoyed seeing it anyway,
thanks for looking
KYenglish
Add a Comment
-
Comment by Alexander Noot on September 27, 2013 at 1:14
-
Very nice! Me and my wife recently did something similar with some tiny pieces of Maple Burl. We turned them into Earrings and a Pendant.
It's an excellent use of scrap pieces of material.
-
Comment by Peter Howard on September 25, 2013 at 19:38
-
glad you liked it some, thanks!
-
In Memoriam Comment by Robert Burris on September 25, 2013 at 16:15 -
Great job Peter, you did a wonderful job with photos and the info. I might try this myself. I sure did enjoy it and welcome, I hope to hear more from you.
White River Knives
Latest Activity
KnifeMakerAlexander Åhl posted a status
2024 Solvang Custom Knife Show at Hotel Corque
Visit Lee' s Cutlery
KNIFE AUCTIONS
KNIFE MAGAZINE!!!
tsaknives.com
JSR Sports!
Click to visit
© 2024 Created by Jan Carter.
Powered by
![]()
You need to be a member of iKnife Collector to add comments!
Join iKnife Collector