"Tomorrow is Ms Doris and I's 66th wedding anniversary. We were just kids when we got married June 18, 1960. Life has been good to us."
iKnife Collector
The online community of knife collectors, A Knife Family Forged in Steel
Paracord D-Guard
OK so here we go....
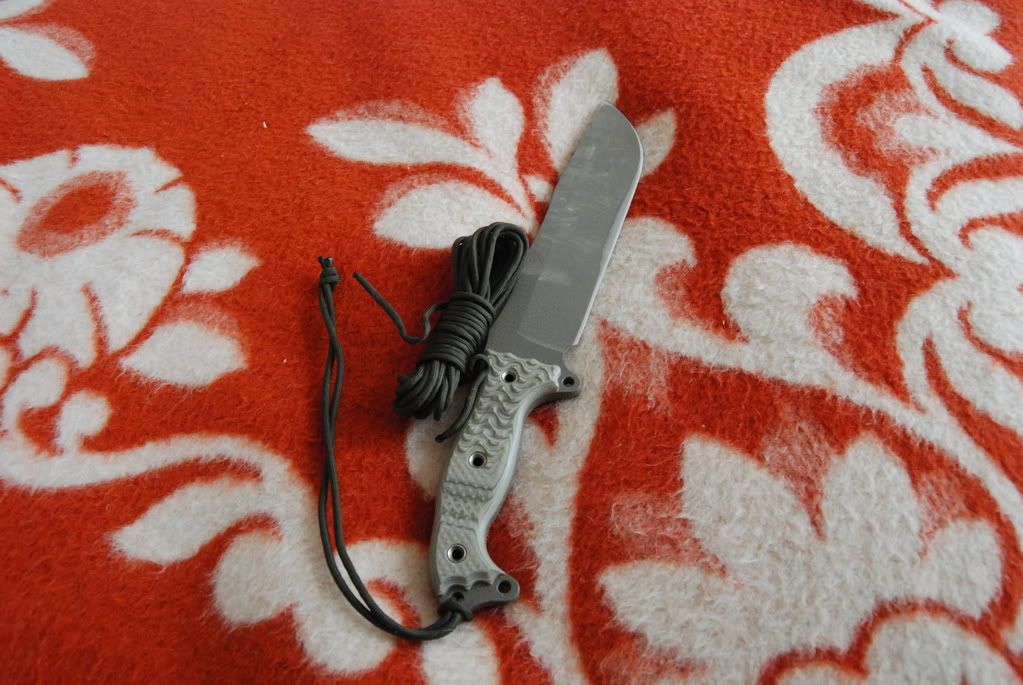
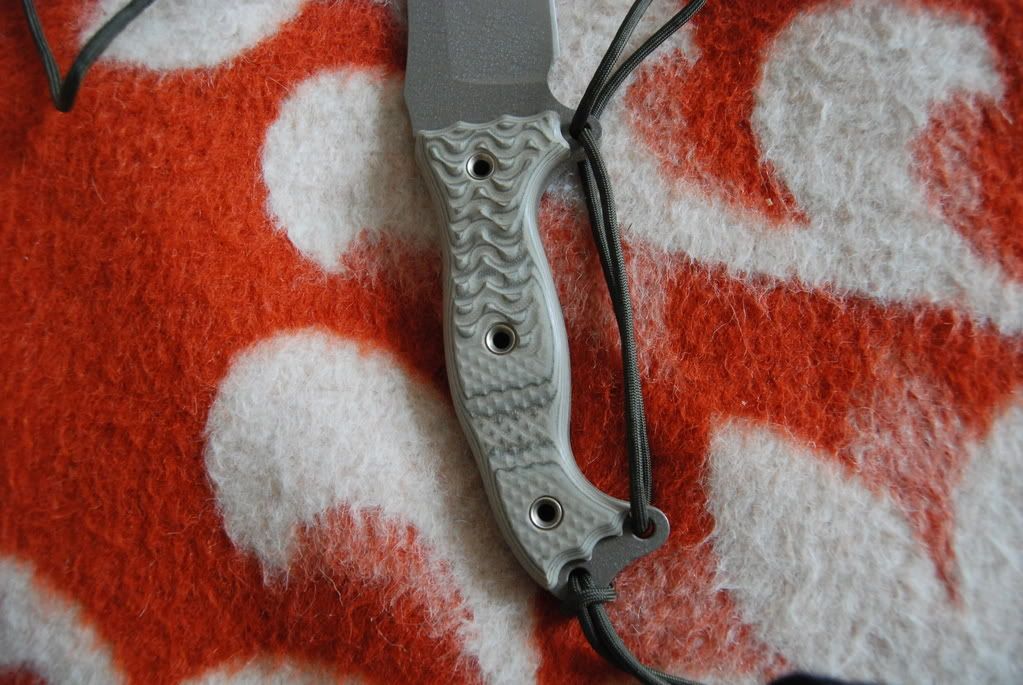
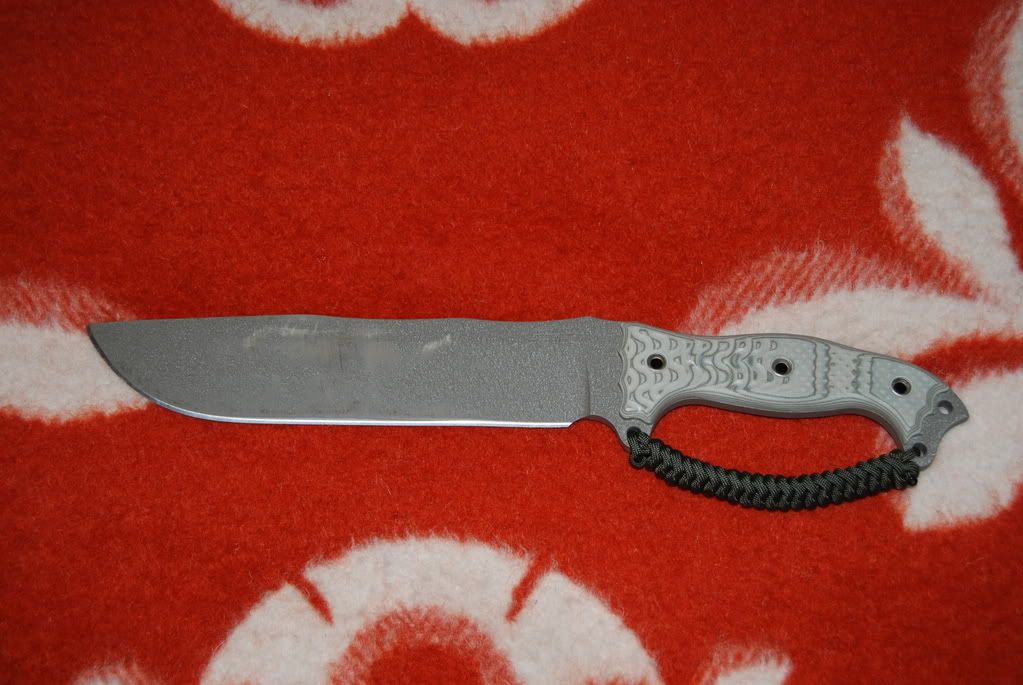
First grab a knife with a lanyard hole and a talon hole, and a boat-load of paracord. The talon hole is a registered trademark of Busse, but I've seen a few knives that have the front guard hole (Kiku Matsuda, i.e.) and the guard will only work if there is a front guard hole.
Also about the paracord, I didn't measure mine but I used a lot of extra. You might want to measure out 9' or so. (if you prefer a thinner guard you can take out the strands inside the cord, however, this really makes the cord nothing more than for pure aesthetic looks. If you keep the strands in, you'll be carrying an extra 10' of paracord for what every use you need.)
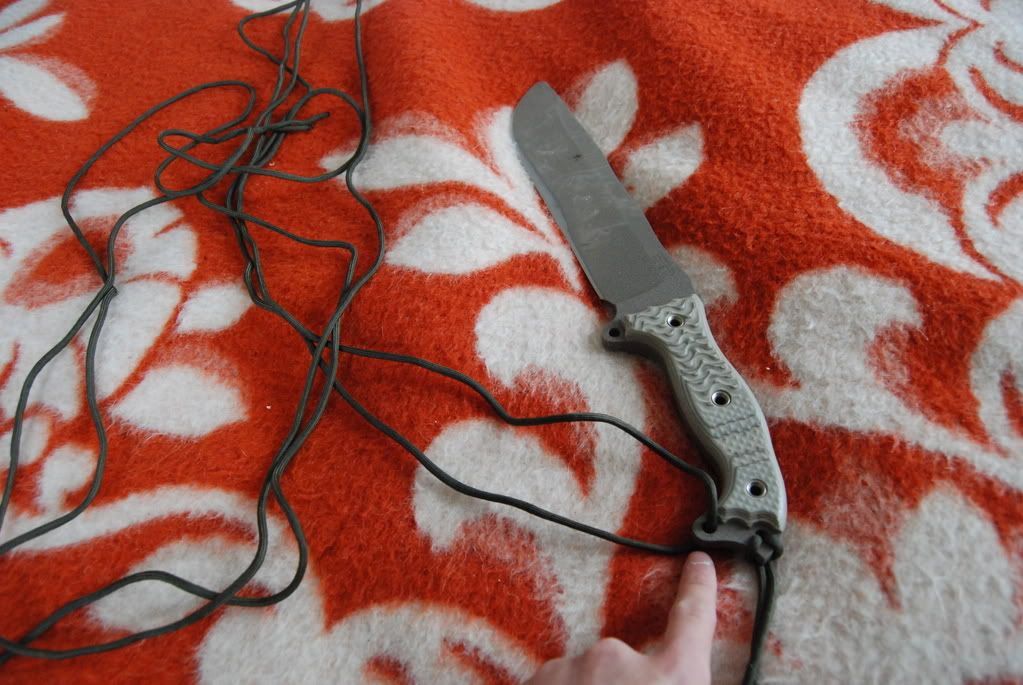
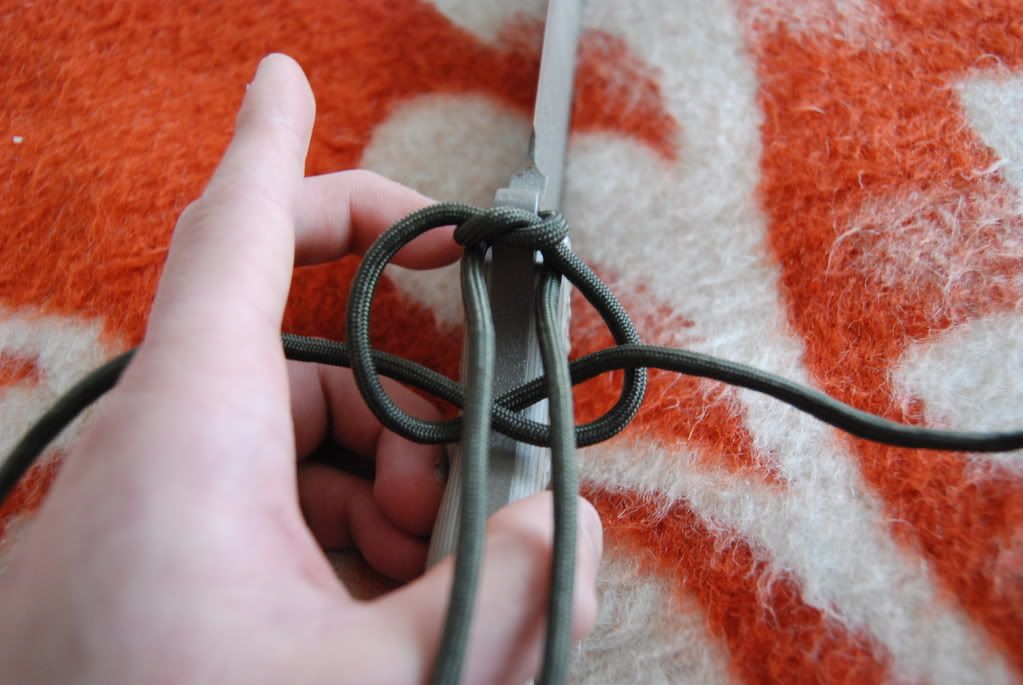
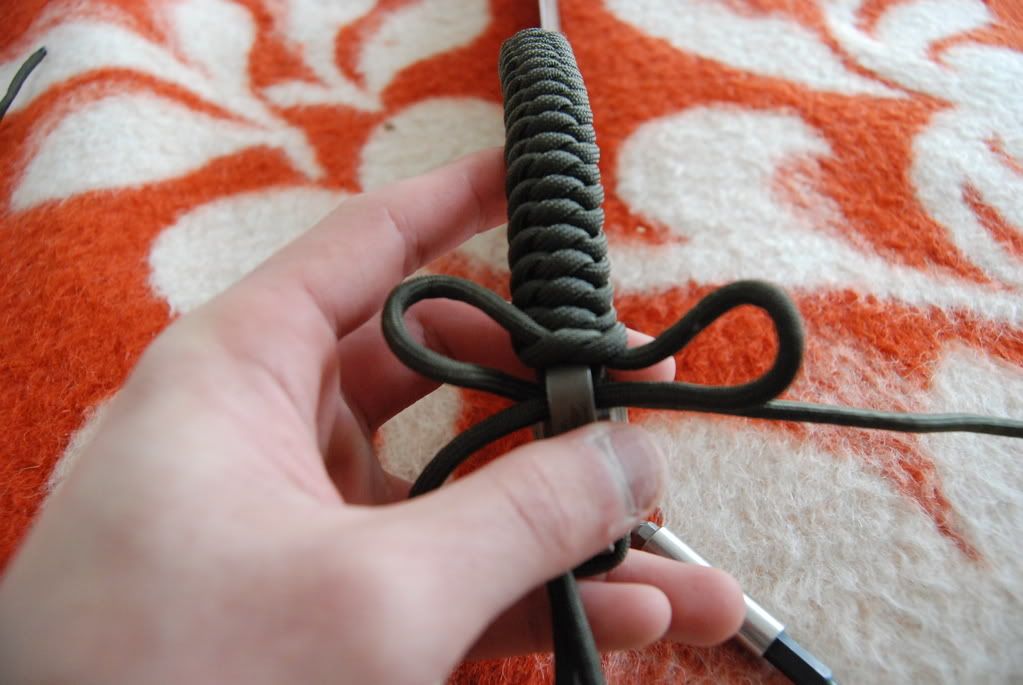
Place that halfway point at the end of the lanyard hole.
Then criss-cross the the cord through the front talon hole.
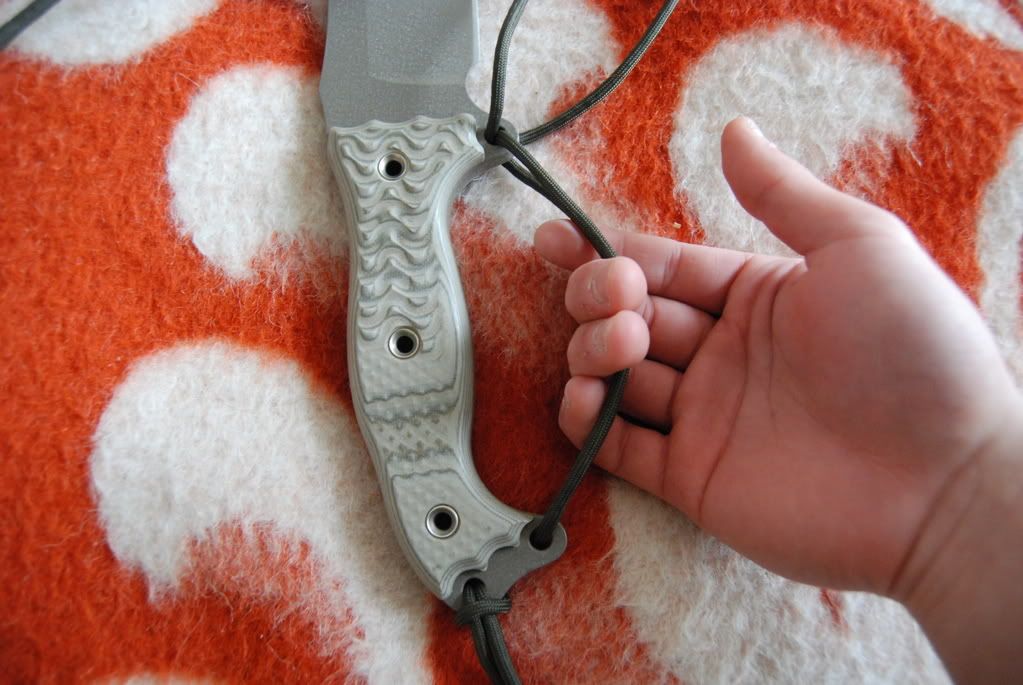
Now you have just made the template for the guard. This is also the place where I notice people mess up the most and get a weird looking guard.
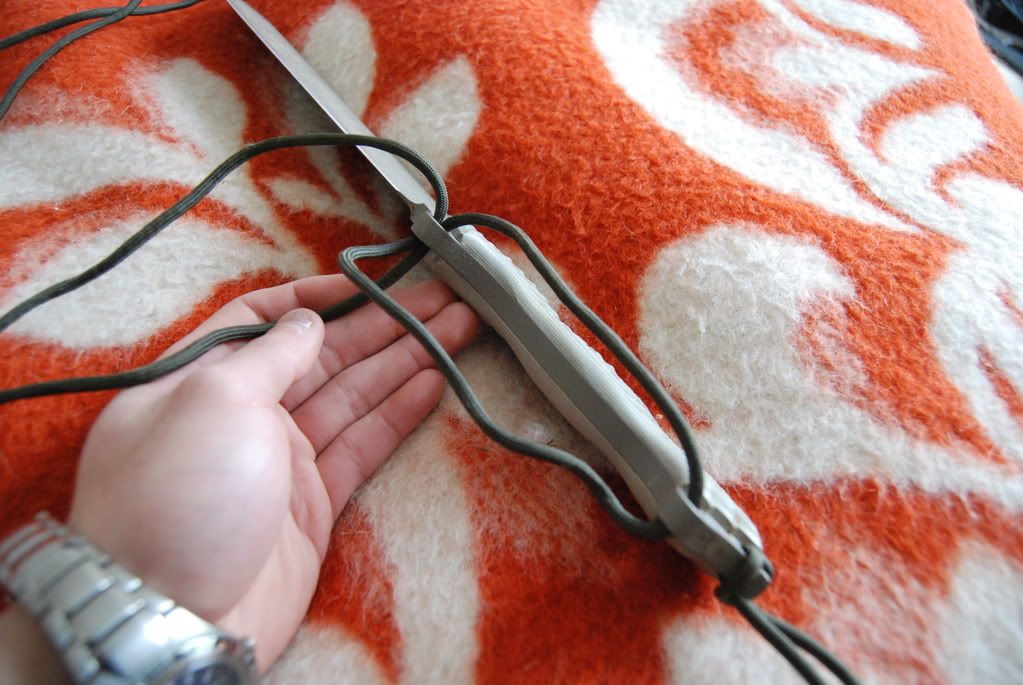
Some people pull too much on the template and will get a looser and awkward guard.
Some people tighten the template too much and get a really tight and straight guard.
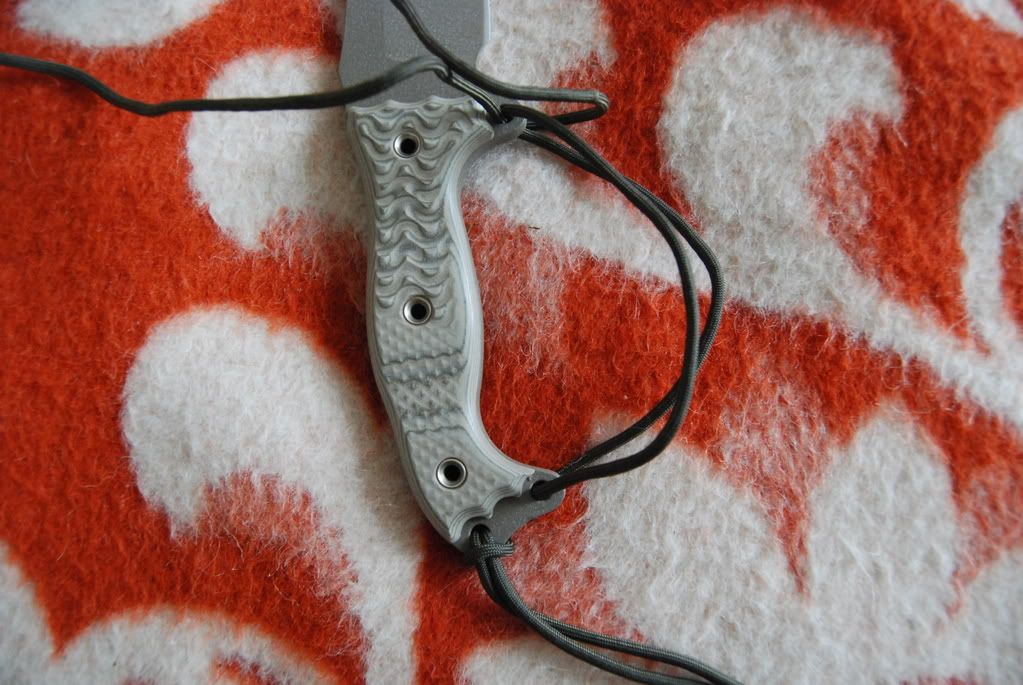
On most handles this is how you want it like the picture below. To check the tension, pull on the template lightly.
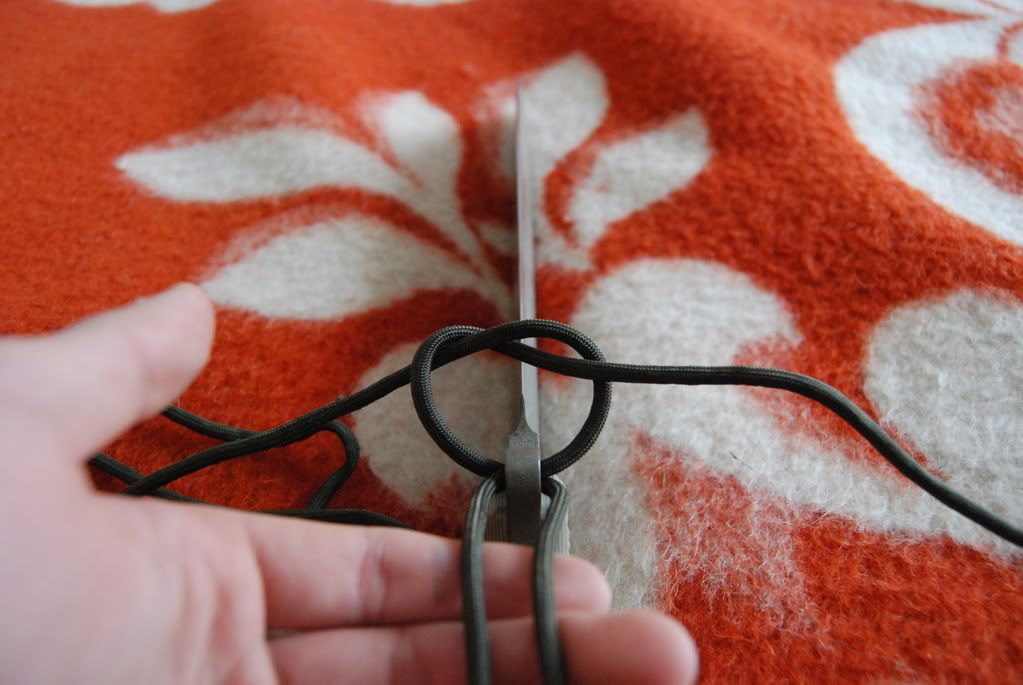
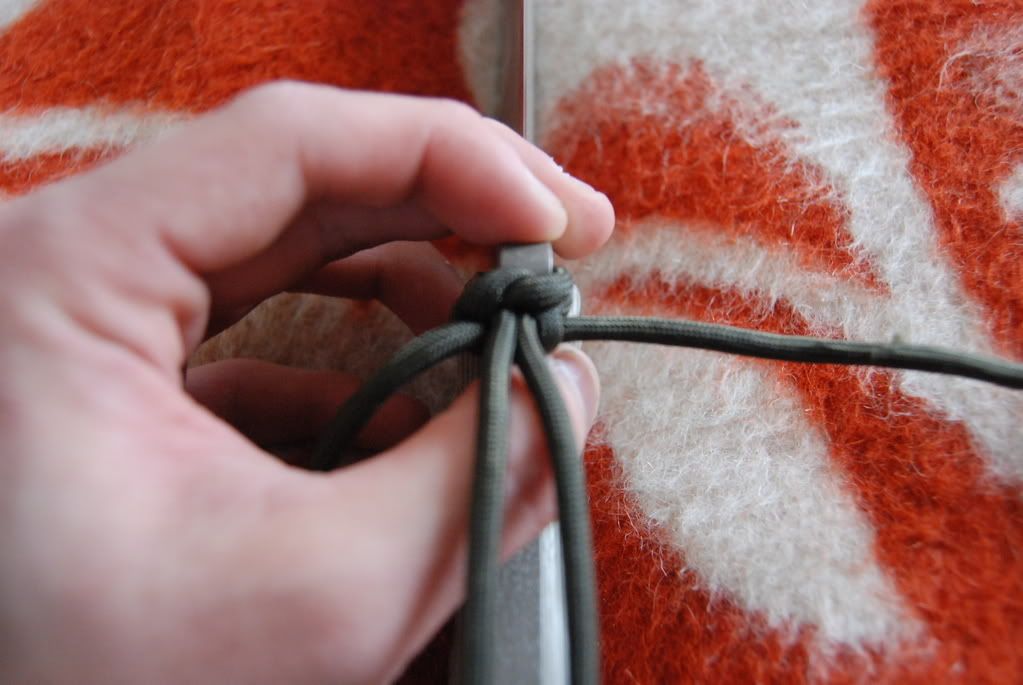
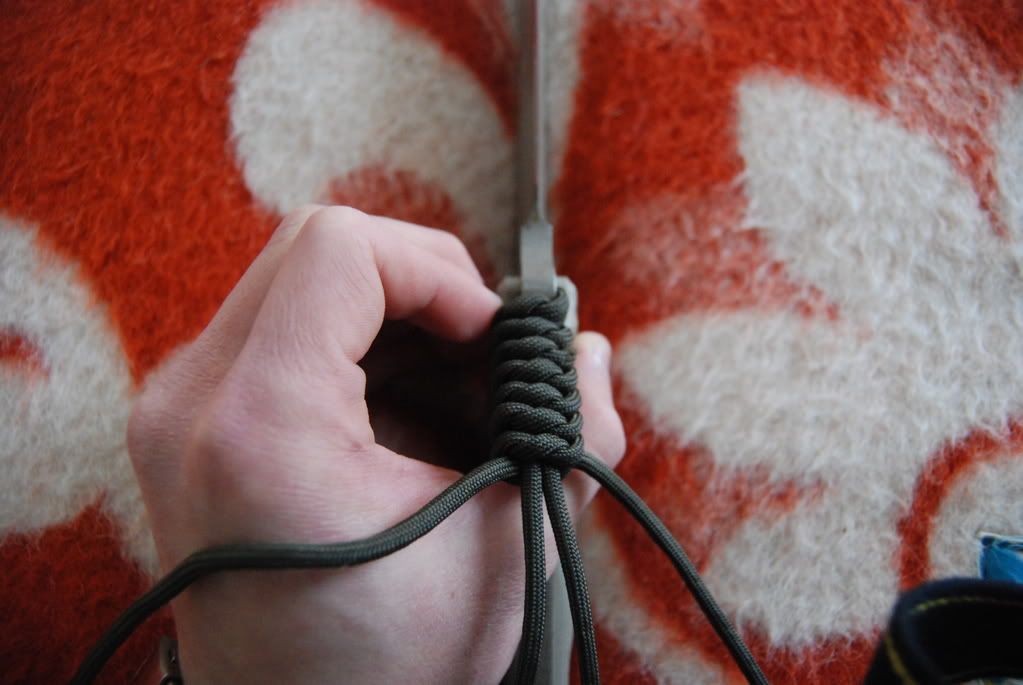
Next, flip the knife onto the spine. Start the guard by doing a simple overhand knot.
Tighten it extremely well.
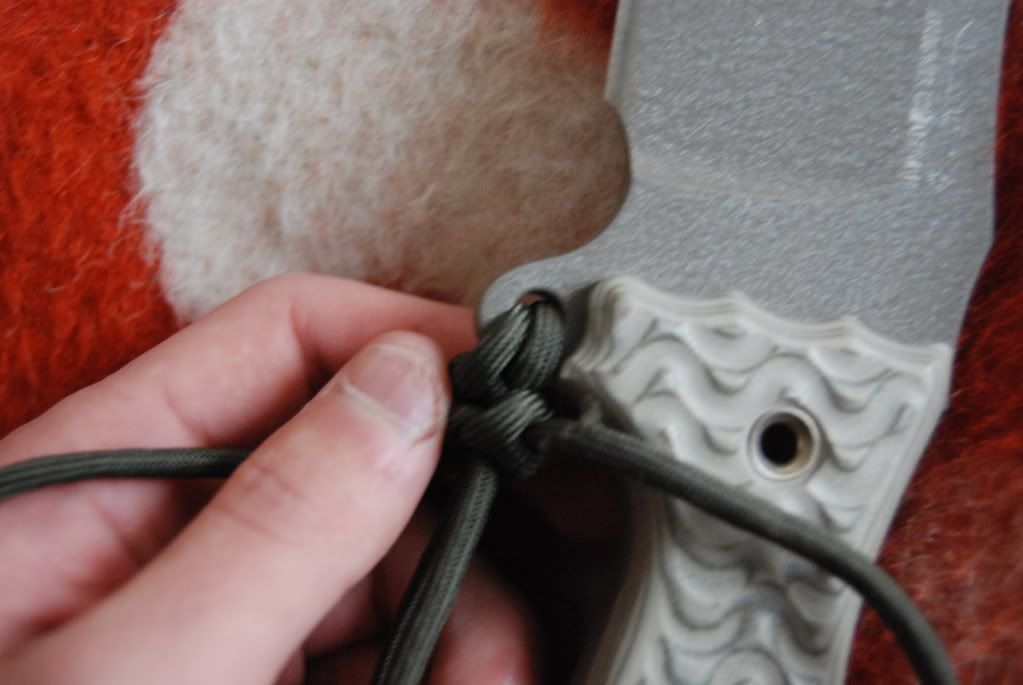
Then begin another overhand knot, except this time it is on the "inside" of the d-guard.
Tighten it extremely well, too.
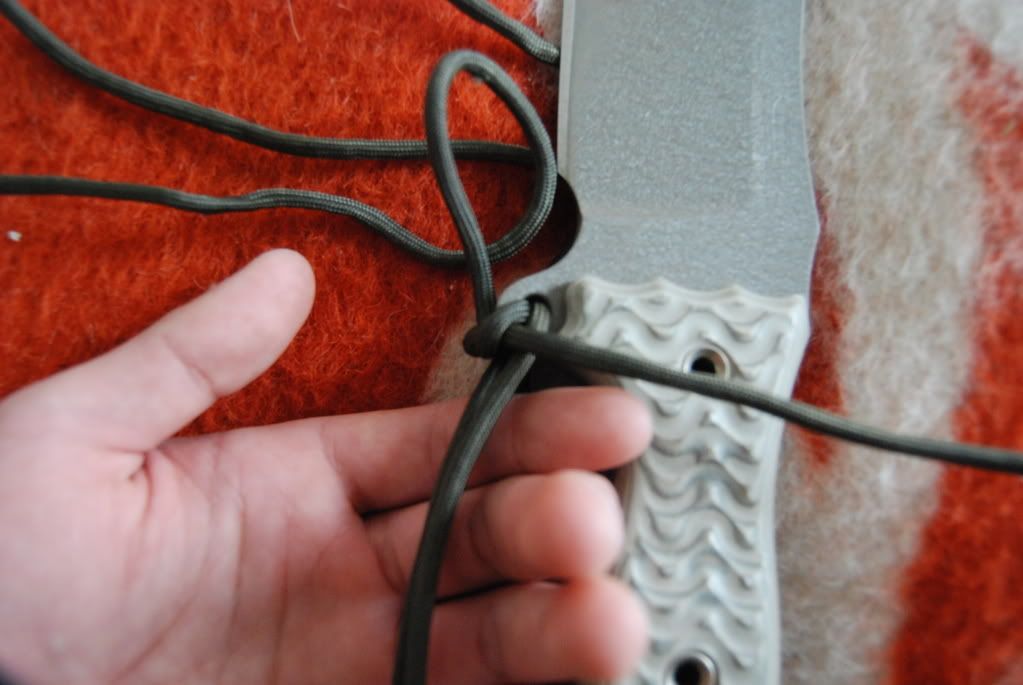
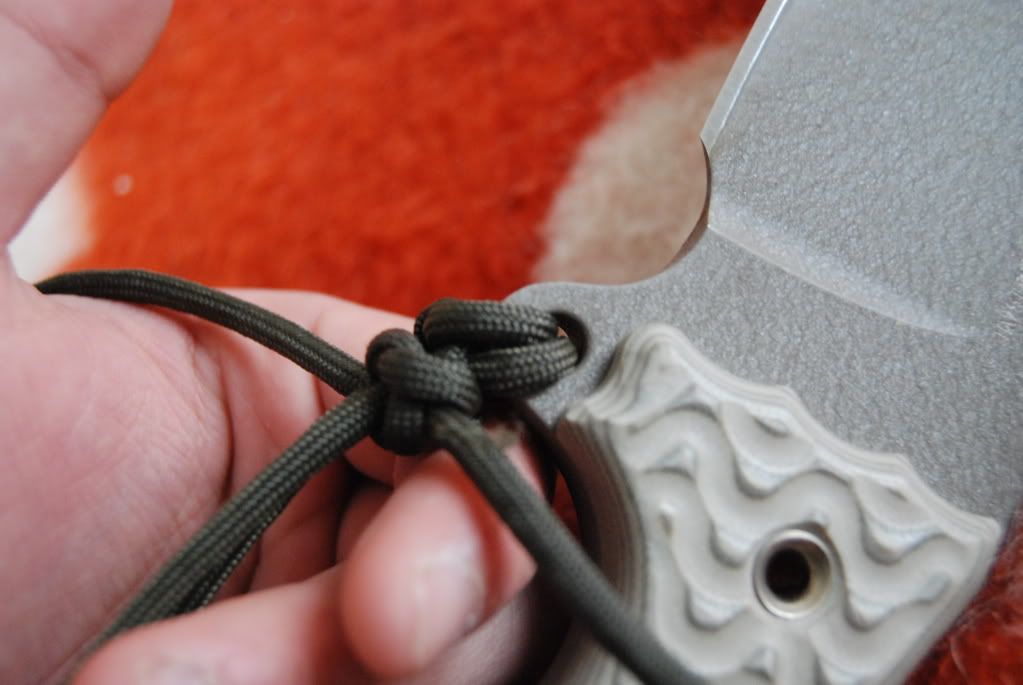
Now repeat the exact same "outside" overhand knot and the exact same "inside" overhand knot. If you don't, you'll get an awkward pattern.
Also beware of the tilt of the knot at the front talon hole. You don't want it parallel to the spine.
You want it 30 to 45 degrees slanted to the spine.
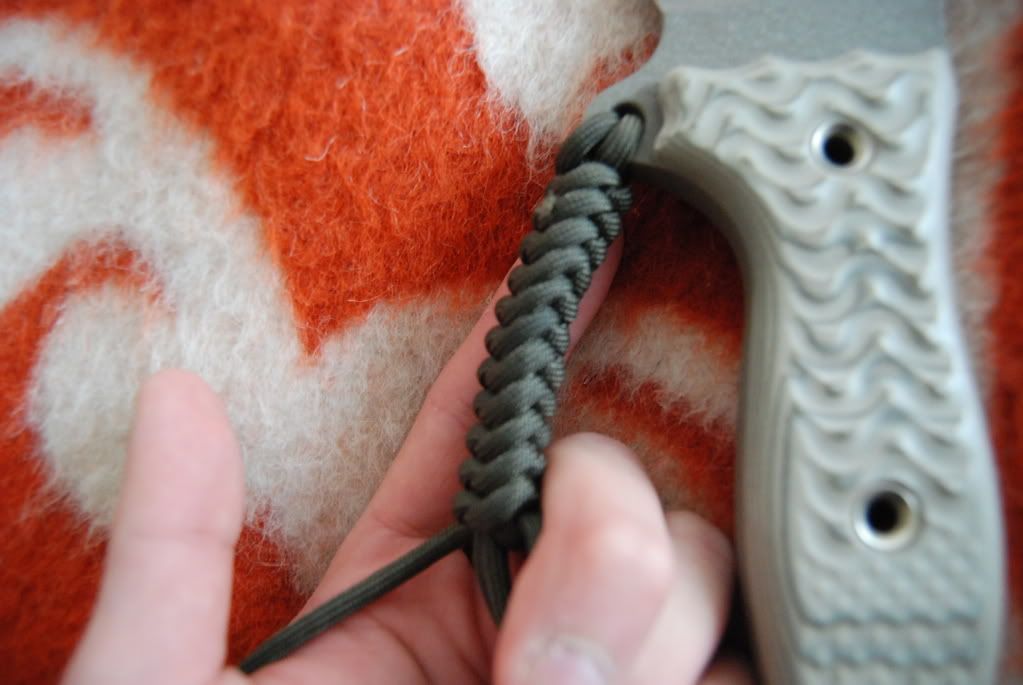
After a while you guard should start looking like this.
Side view.
"Inside" view.
When you get near the end you want to make sure that you can cram as many overhand knots as possible. Even if you have this much space,
continue to create overhand knots until it is flush like the picture below.
Now, at this point you can criss-cross the last bit of cord, cut it, and call it quits.
Finished Guard without excess cord.
Or you can continue to use the excess and wrap the handles.
Here is the finished wrap.
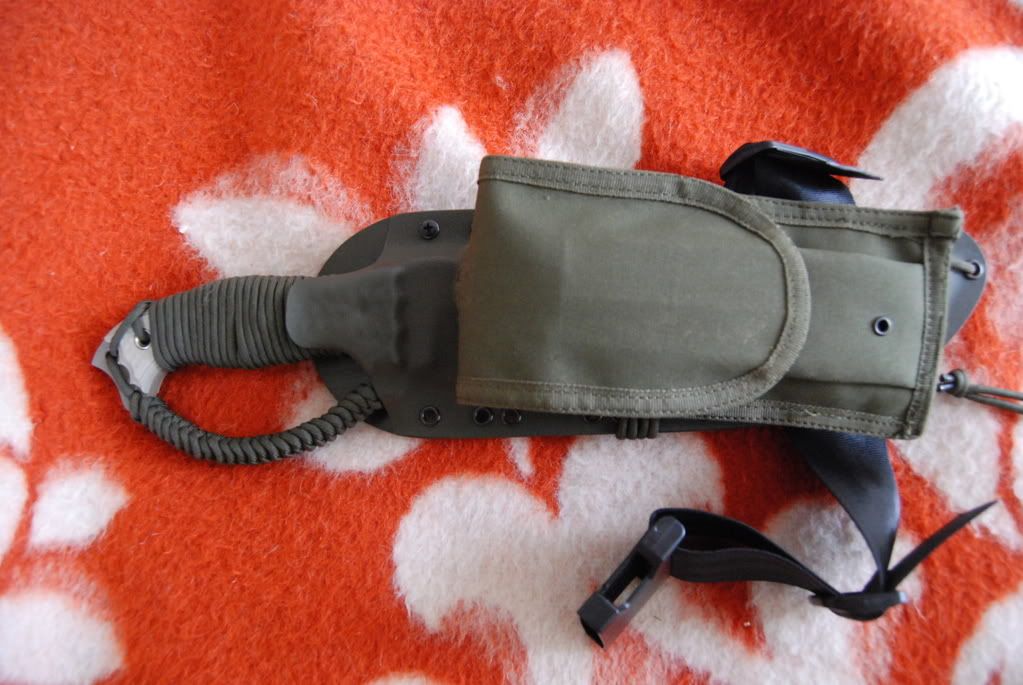
It even fits in my custom sheath.
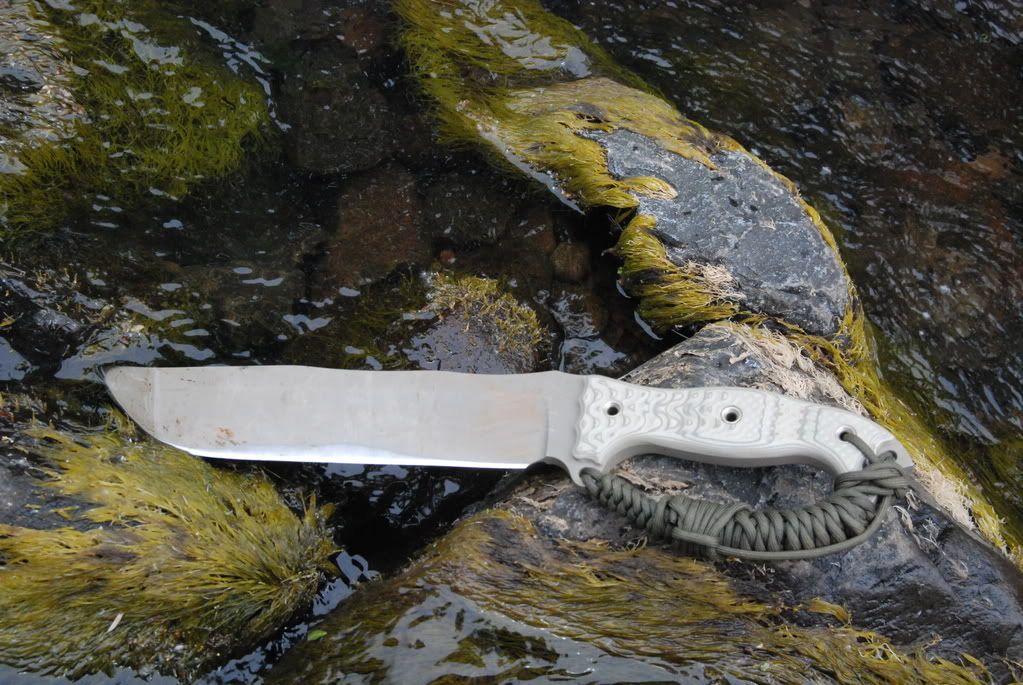
If you have extra cord and you don't want to wrap the knife you can just continue to further knot the guard. Using the same knot as before. I did this and really liked the look so this is what my current D-guard looks like.
Also, if you feel like you don't want to make the D-guard using a repeated overhand knot, you can also use a cobra stitch (like on most lanyards) or any other knot you please. If you continue to wrap the guard you can use the same knot or a different one, be creative. Just be sure that you get the right tension on the guard so you get a well curved guard.
First grab a knife with a lanyard hole and a talon hole, and a boat-load of paracord. The talon hole is a registered trademark of Busse, but I've seen a few knives that have the front guard hole (Kiku Matsuda, i.e.) and the guard will only work if there is a front guard hole.
Also about the paracord, I didn't measure mine but I used a lot of extra. You might want to measure out 9' or so. (if you prefer a thinner guard you can take out the strands inside the cord, however, this really makes the cord nothing more than for pure aesthetic looks. If you keep the strands in, you'll be carrying an extra 10' of paracord for what every use you need.)
Place that halfway point at the end of the lanyard hole.
Then criss-cross the the cord through the front talon hole.
Now you have just made the template for the guard. This is also the place where I notice people mess up the most and get a weird looking guard.
Some people pull too much on the template and will get a looser and awkward guard.
Some people tighten the template too much and get a really tight and straight guard.
On most handles this is how you want it like the picture below. To check the tension, pull on the template lightly.
Next, flip the knife onto the spine. Start the guard by doing a simple overhand knot.
Tighten it extremely well.
Then begin another overhand knot, except this time it is on the "inside" of the d-guard.
Tighten it extremely well, too.
Now repeat the exact same "outside" overhand knot and the exact same "inside" overhand knot. If you don't, you'll get an awkward pattern.
Also beware of the tilt of the knot at the front talon hole. You don't want it parallel to the spine.
You want it 30 to 45 degrees slanted to the spine.
After a while you guard should start looking like this.
Side view.
"Inside" view.

When you get near the end you want to make sure that you can cram as many overhand knots as possible. Even if you have this much space,
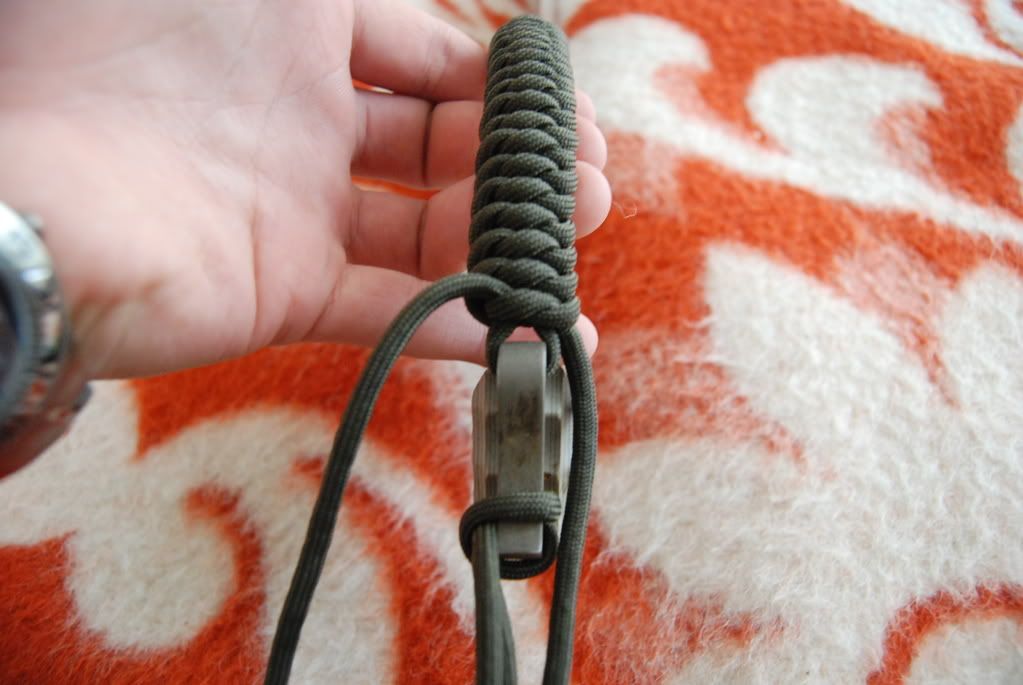
continue to create overhand knots until it is flush like the picture below.
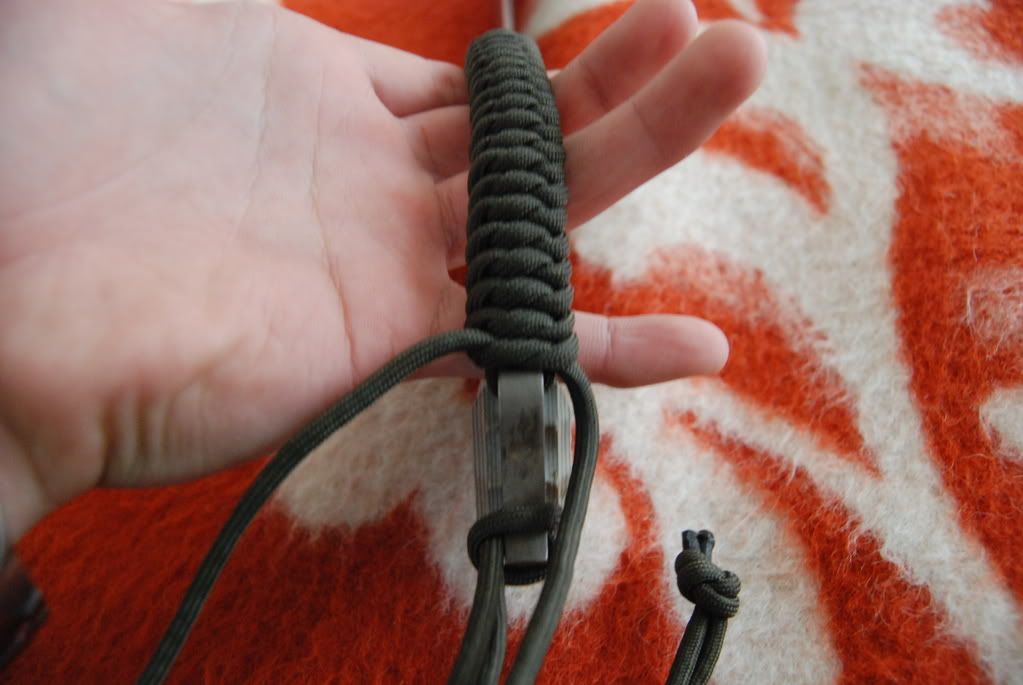
Now, at this point you can criss-cross the last bit of cord, cut it, and call it quits.
Finished Guard without excess cord.
Or you can continue to use the excess and wrap the handles.
Here is the finished wrap.

It even fits in my custom sheath.
If you have extra cord and you don't want to wrap the knife you can just continue to further knot the guard. Using the same knot as before. I did this and really liked the look so this is what my current D-guard looks like.
Also, if you feel like you don't want to make the D-guard using a repeated overhand knot, you can also use a cobra stitch (like on most lanyards) or any other knot you please. If you continue to wrap the guard you can use the same knot or a different one, be creative. Just be sure that you get the right tension on the guard so you get a well curved guard.
Add a Comment
-
Comment by Tom Cai on May 16, 2009 at 22:57
-
Thanks!
You did a really good job on the photography tutorial, as well!
whiteriverknives.com
Latest Activity
© 2026 Created by Jan Carter.
Powered by
![]()
You need to be a member of iKnife Collector to add comments!
Join iKnife Collector